Two of the key aspects of running a successful business are connecting different tools with each other and automation.
Who doesn’t want a less stress-free business right?
That’s why in this post we are going to discuss how you can connect WPForms and Sendinblue to your WordPress business website.

As you are reading this, chances are you already know about both of them. But for those who haven’t heard of them yet, let me introduce you to them briefly.
What Is WPForms?
WPForms is one of the best drag-and-drop WordPress form builders with an awesome rating across all the review sites including the WordPress repository.
This is definitely a form builder that most WordPress websites are currently using without having any issues or things to complain about.
If you want to learn more about it then you can read my detailed review of WPForms over here.
What Is Sendinblue?
Sendinblue is an all-in-one marketing and CRM software/service.
Most of us know them because of their Email Marketing services but they also provide a lot of other services such as SMS Marketing, Chat, Landing Pages, Facebook Ads, Marketing Automation, etc.
You can learn more about Sendinblue over here.
Now finally let’s talk about how to connect them with each other to take advantage of all these features.
How To Connect WPForms And Sendinblue In WordPress?
Do you know what the best part is? WPForms team has already built an addon to connect your WordPress website or forms to Sendinblue.
That’s right, there’s no need to worry about all the technical stuff like API, Documentations, etc.
In case you don’t have the Sendinblue addon then you can get it from here. And you’ll also need WPForms to work with it, which I’m assuming you already have. If not, go get it here.
Step 1: Install & Activate WPForms And Sendinblue Addon
Installing the WPForms plugin is just like any other plugin. And probably you’ve already installed it.
If not, go to your WordPress dashboard » Plugins » Add New and upload the plugin file that you’ve downloaded from your WPForms account dashboard.
Click on “Activate” to activate the plugin and make sure to verify your license key.
Now let’s connect Sendinblue with your WPForms plugin.
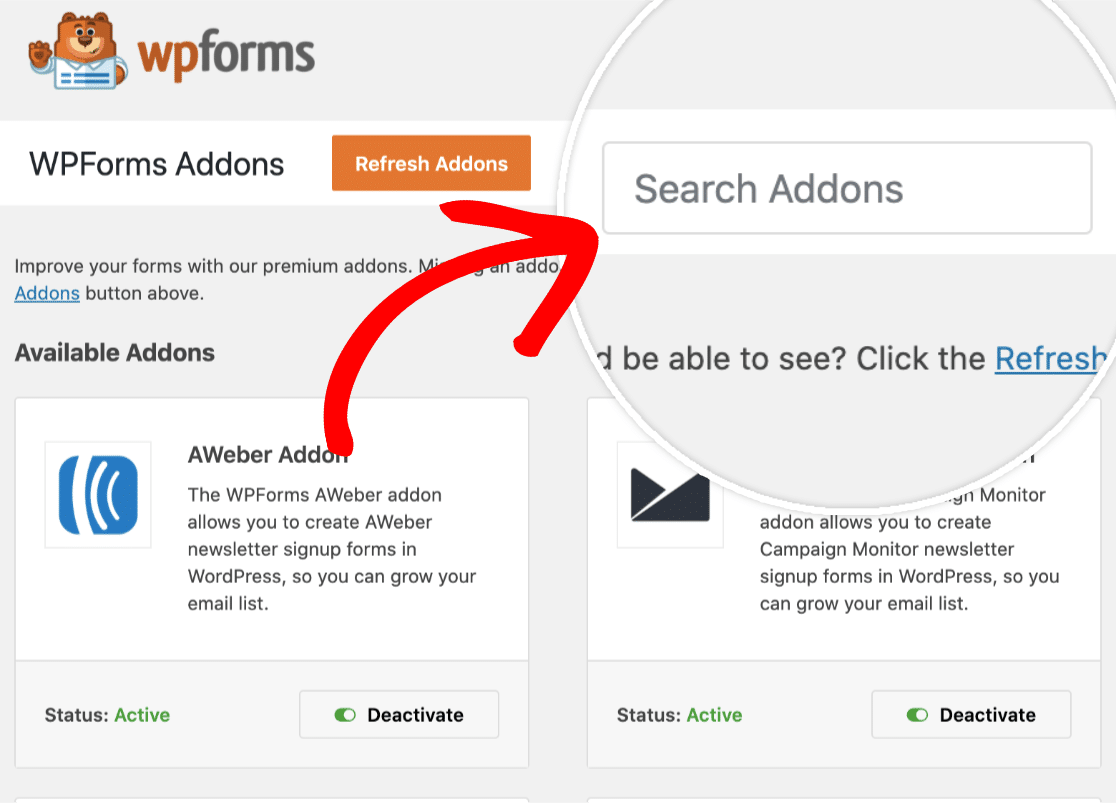
To do that, go to WPForms » Addons.
Now you should see some of the addons that are available with your license or plan. If not click on Refresh Addons once.
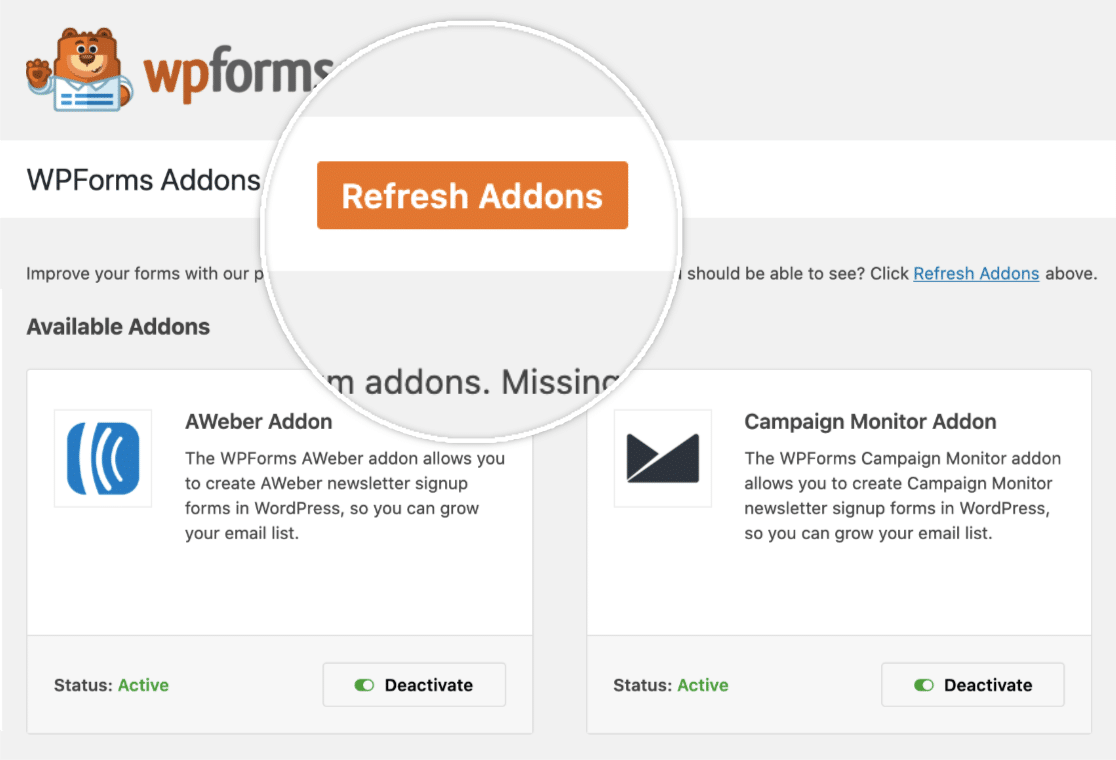
If you see the Sendinblue addon then click on Install Addon to install the addon and activate it.
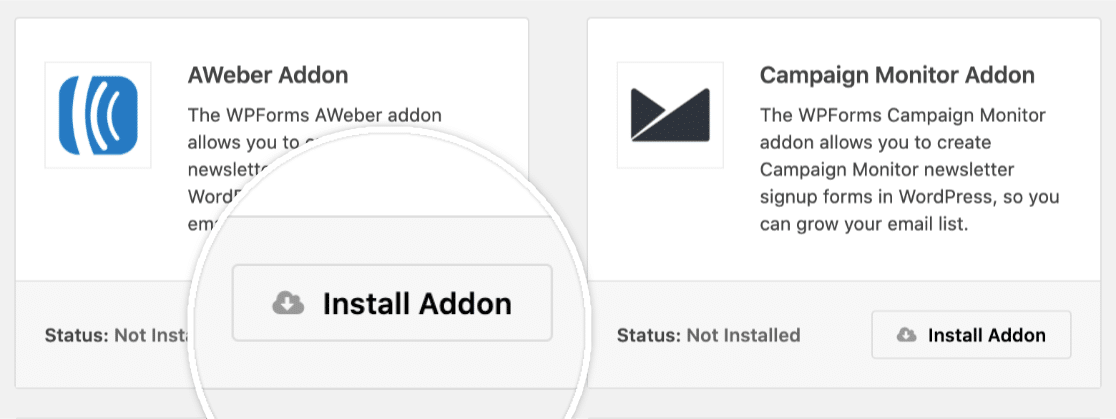
Image Used Only For Demonstration Purpose (Please select Sendinblue addon not, AWeber.)
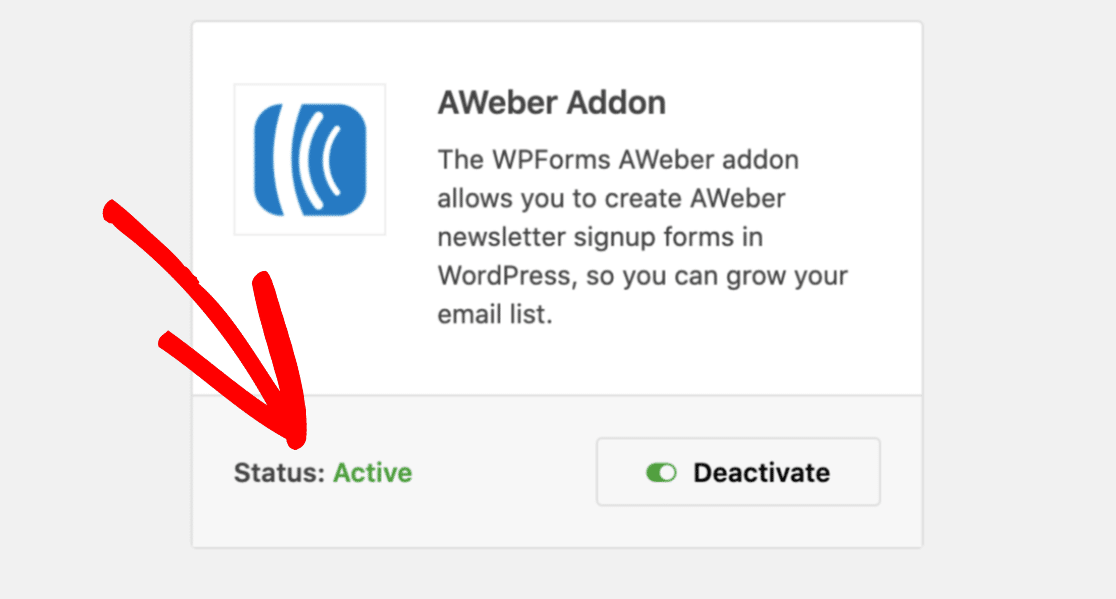
Image Used Only For Demonstration Purpose
You can use the search box to find it easily by the way.
As now your Sendinblue addon is active, it’s time for step 2.
Step 2: Integrate Sendinblue With WPForms
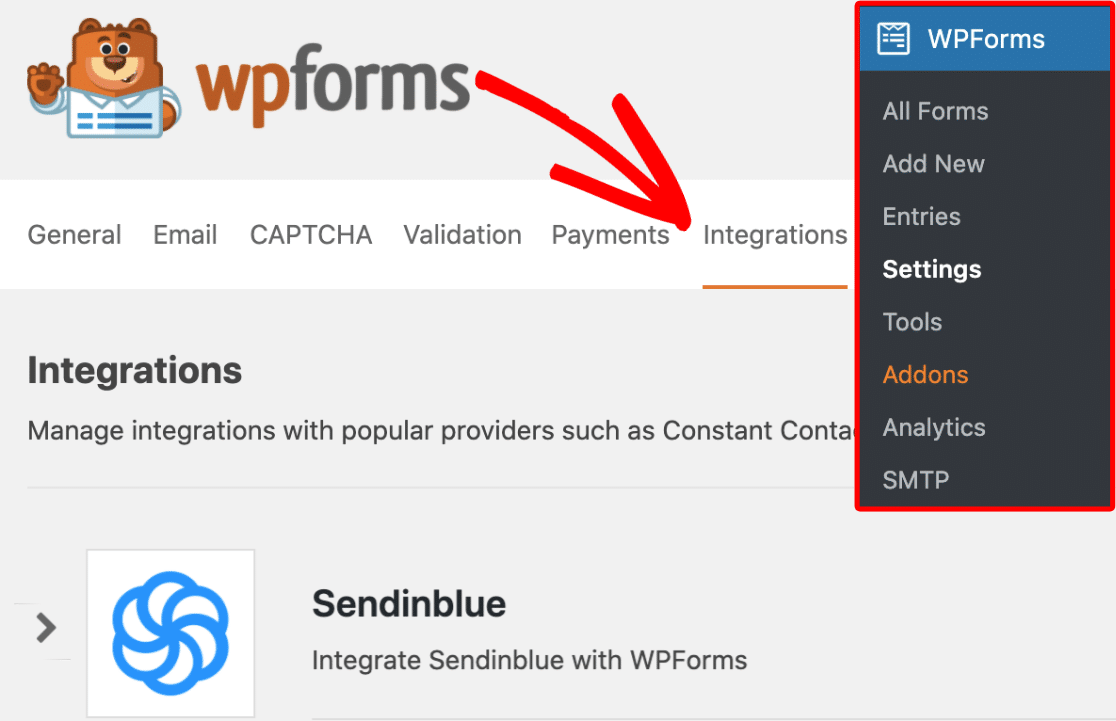
To integrate Sendinblue And WPForms, go to your WordPress dashboard and then go to WPForms » Settings » Integrations.
Now find Sendinblue and click on it.
Now you should see an option labeled Add New Account, click on that.
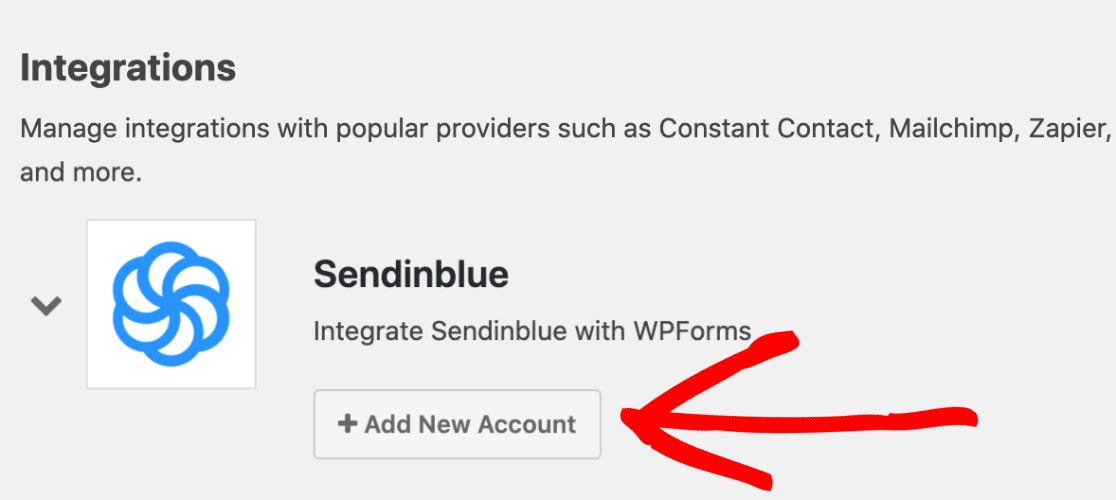
On clicking that button, you’ll see the fields as shown below:
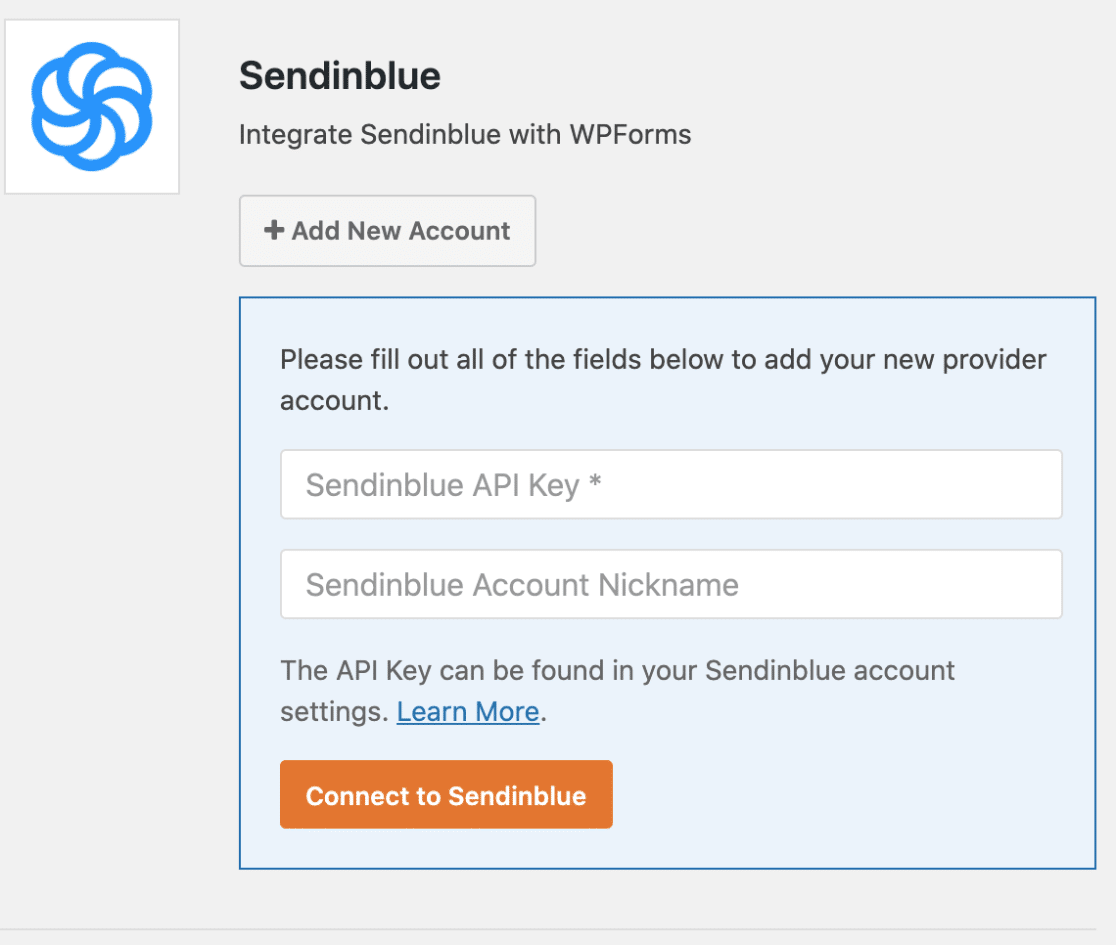
Here you’ll have to enter the API key that you’ll get from your Sendinblue account.
To find it, log in to your Sendinblue account.
Now click on the main menu on the top right corner in your Sendinblue dashboard and then click on SMTP & API option.

On this page, you’ll be able to see your API key like the example below.

Now go back to your WPForms settings dashboard and enter the API key and give it a nickname for identifying it later.
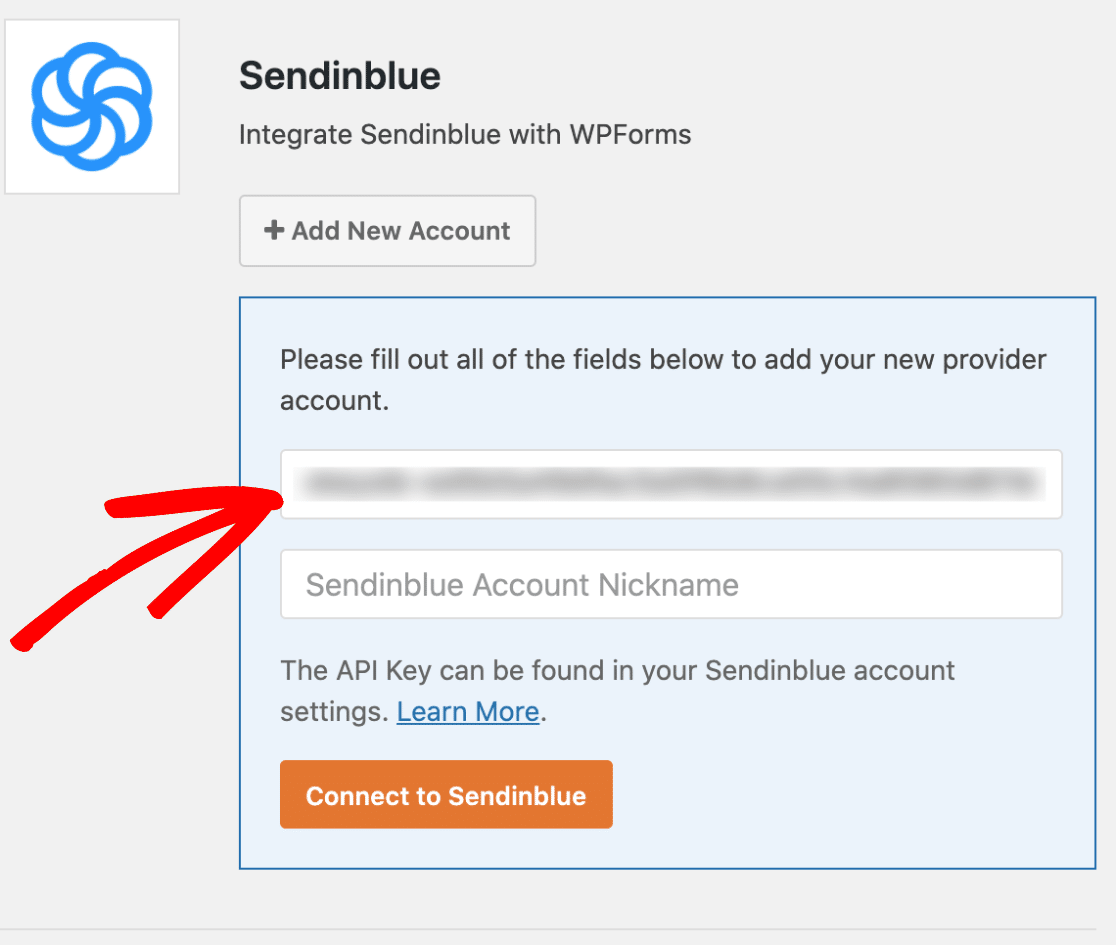

Now click on the Connect to Sendinblue button.
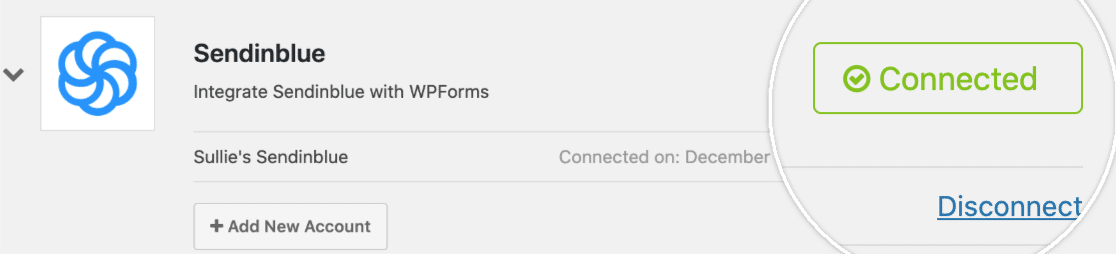
Once your Sendinblue account is connected with WPForms, it will look like the screenshot below.
Step 3: Configure Your Forms For Sendinblue
Your website is already connected with Sendinblue via WPForms but the forms that you have used on your website may not be using this connection.
To fix that follow the instruction below and do the same for any new forms created in the future.
You can either edit your existing forms or create a new one to follow the steps.
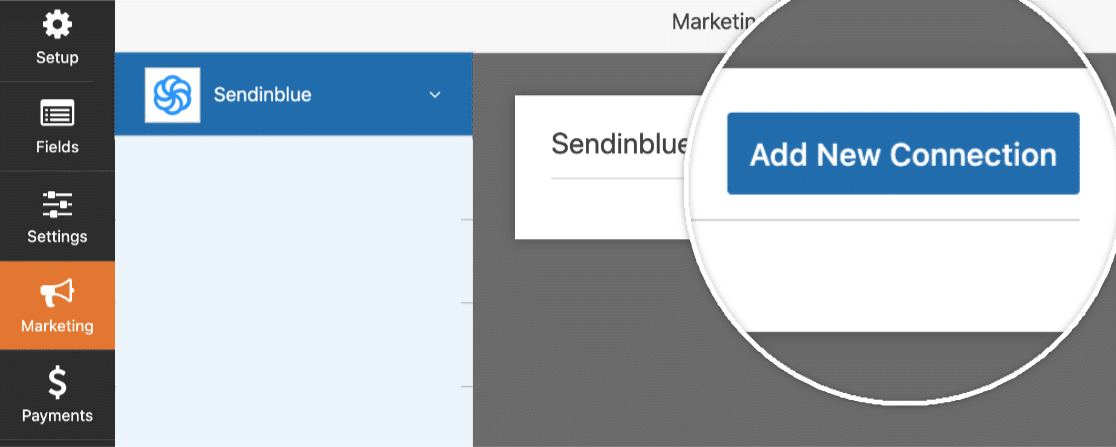
This will take you to the form builder and then you need to go to Marketing » Sendinblue and then click on Add New Connection.
Now give this connection a nickname for identifying purpose.

Now select the Sendinblue account that you connected to earlier from the dropdown.
Next, select the Action To Perform from the second dropdown.
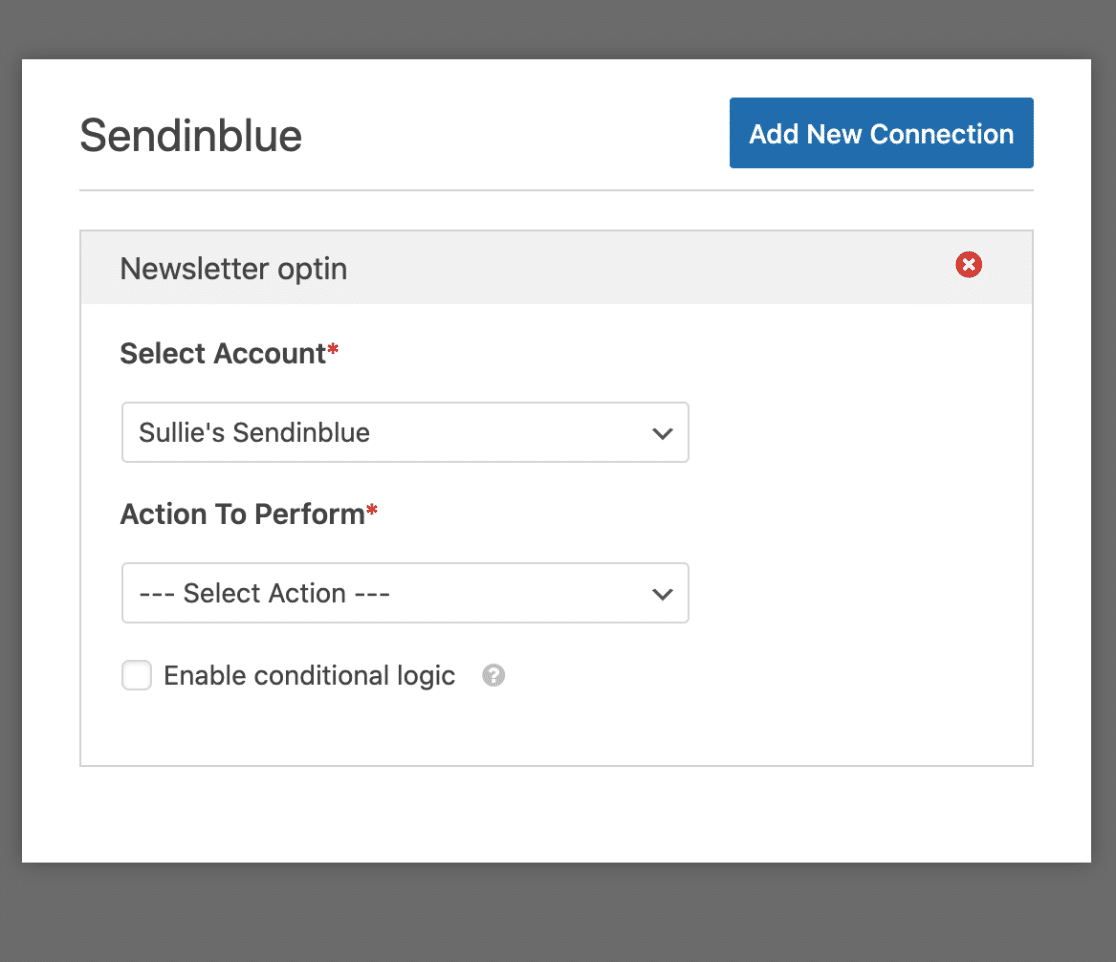
You can also enable conditional logic if you want to. If you have no idea about conditional logic then you can read about it here.
Now map the appropriate fields to make it work the right way.
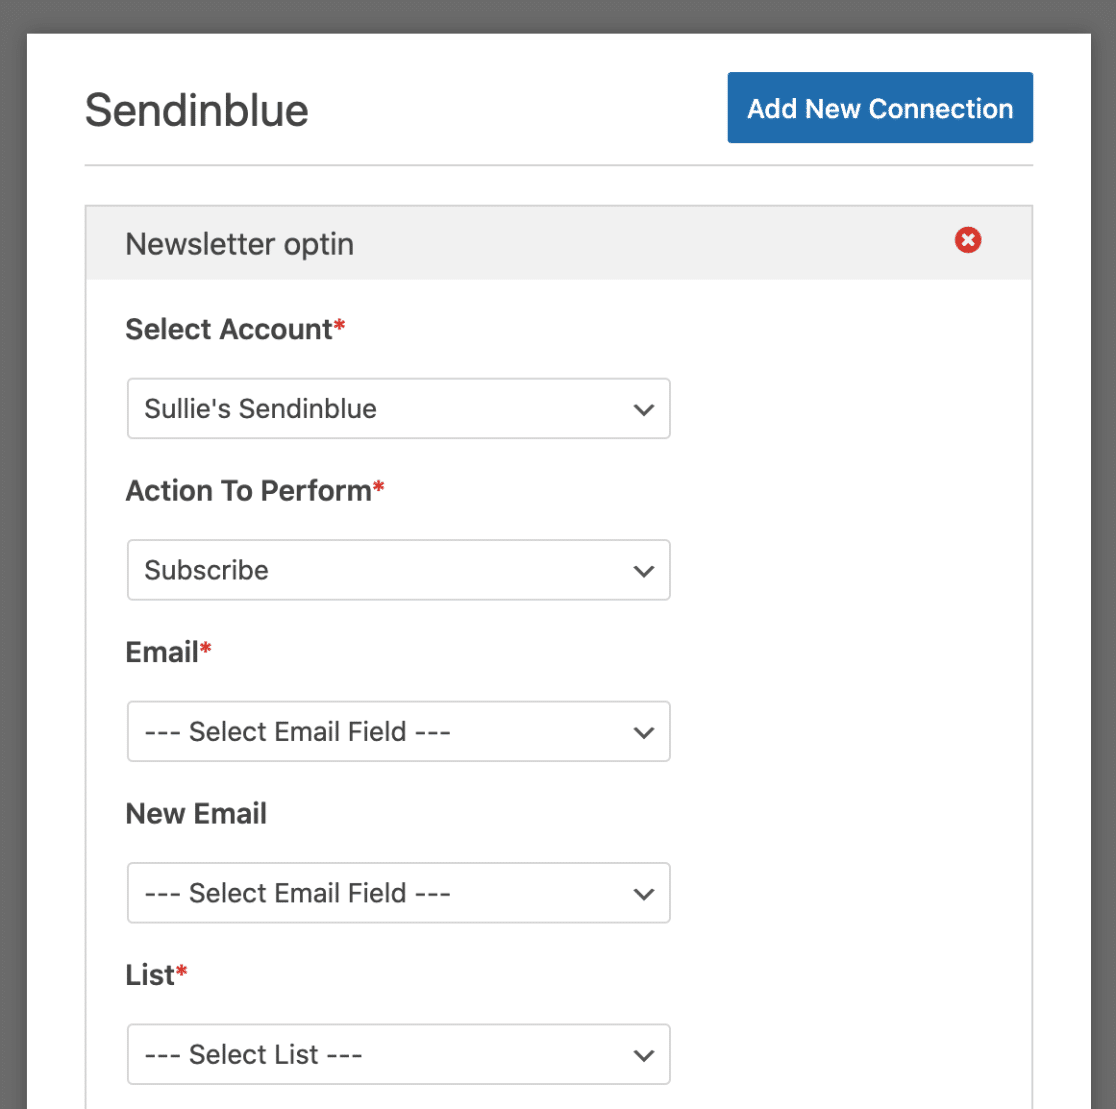
Remember that you can also map the custom fields that you might have created with WPForms.

Wrapping It Up…
It’s extremely important to automate most of your work that could be done without any manpower if you really want to be successful in your business.
WPForms and Sendinblue help you do that with just a few clicks without any hassle and you get the benefit of less stress and expenses on employees.
Go ahead and use the guide to connect WPForms And Sendinblue to your WordPress website today.
By the way, did you know that you can integrate WPForms with Zapier as well? You can read more about it here.
Good luck!
Try it for FREE
It's free to download. Go ahead and test it yourself.