Are your WordPress emails not being delivered?
You'll thank me after reading this post as I'm going to make it work for you!
The problem is very common and it's happening with almost everyone so don't feel too bad about it.

Not only we'll solve this issue but also we'll make sure that all of your emails gets into the inbox instead of spam box.
Now let's get going!
Let me tell you my story with this issue first to make you feel confident about it.
So, I started my website on Bluehost for the first time and I configured everything.
I was super excited to use my own email id with my own domain. (I was about to show off! 😉 )
And I quickly added it to my WordPress account. The WordPress displayed a notification that the verification email was sent.
But guess what? I never received it until I got to know about this solution that I'm going to share with you.
Are you curious why this even happens in the first place? I was too.
Let me tell you why...
Why Are Your WordPress Emails Not Being Delivered?
By default, WordPress uses PHP mail function to send emails or notifications from your WordPress website.
Doesn't matter if you are using a built-in feature or adding a contact form like WPForms, you won't receive any emails.
That is because, most of the web hostings are not configured to work with PHP mail function.
And that means your emails won't even make it to the spam box.
Now let's talk about the solution.
The Solution Of WordPress Not Sending Emails
After a little bit of research and digging I got to know that there is an option to bypass this issue.
And that is, using SMTP (Simple Mail Transfer Protocol) to send emails.
Just like you, I didn't had any idea about it and how to do it.
So I did some more research and found out this life saving plugin called WP Mail SMTP.
As the name suggests, it helps you to send emails using SMTP.
This will work on any web hosting server and even on third-party servers like Sendinblue, Amazon SES, GSuite, etc.
As SMTP is the industry standard to send emails that uses proper authentication and ensures deliverability.
So now let's learn how you can use WP Mail SMTP plugin to send WordPress emails using SMTP instead of PHP mail function.
Why Use WP Mail SMTP?
The good news is, WP Mail SMTP is a freemium plugin and available to use for free as well on WordPress repository. On top of that, the pro version is also affordable.
Of course the free version has some limitations, but it can at least make sure that your emails are getting delivered.
However, it may often land into the spam folder because of the servers reputation.
That's where the pro version comes to rescue as the WP Mail SMTP Pro can even connect with the reputed mail servers like Amazon SES to send emails.
Which ensures that your email lend in the inbox and not the spam box. We will talk more about it later in this post.
If you can't afford WP Mail SMTP Pro at this moment then don't worry.
Let me tell you that, most of the reputed web hosting servers like Rocket.Net, WP Engine, etc. will handle it effectively.
Install & Configure WP Mail SMTP
Like I said already, it is available on WordPress repository for free. That means, you can install this plugin like any other plugins.
And if you want to use the paid version of the plugin then you have to download the plugin file and upload it on your website.
Let's look at the steps.
Follow The Following Steps
Install & Activate The Plugins
To install the plugin, go to your WordPress dashboard > Plugins > Add New now...
FOR FREE VERSION
If you want to install the free version then simply type "WP Mail SMTP" in the search box.
When you'll see the plugin, click on "Install" and wait until the button changes to "Activate".
Now click on that to activate the plugin and proceed to next step.
FOR PAID VERSION
If you want to use the paid version, instead of searching click on "Upload Plugin".
Choose the downloaded plugin file and click on upload.
Once the upload finishes, you'll see an "Activate" link/button. Click on that and proceed to the next step.
Configure The Plugin
Now you should see "WP Mail SMTP" option on the side panel of your WordPress dashboard.
Click on WP Mail SMTP > Settings
Now select the mailer and fill up all the details of your email like Name, Email, SMTP Host/Server, Passwords, API Key, etc. (Depends upon the selected mailer.) and click on "Save Settings".
Note: There is a safer way to use password instead of typing it here. Use the wp-config.php file to save your password.
Time To Test
There is a tab labelled "Email Test" on WP Mail SMTP dashboard.
Go to that tab, type in your email and turn on HTML.
Now click on "Send Email".
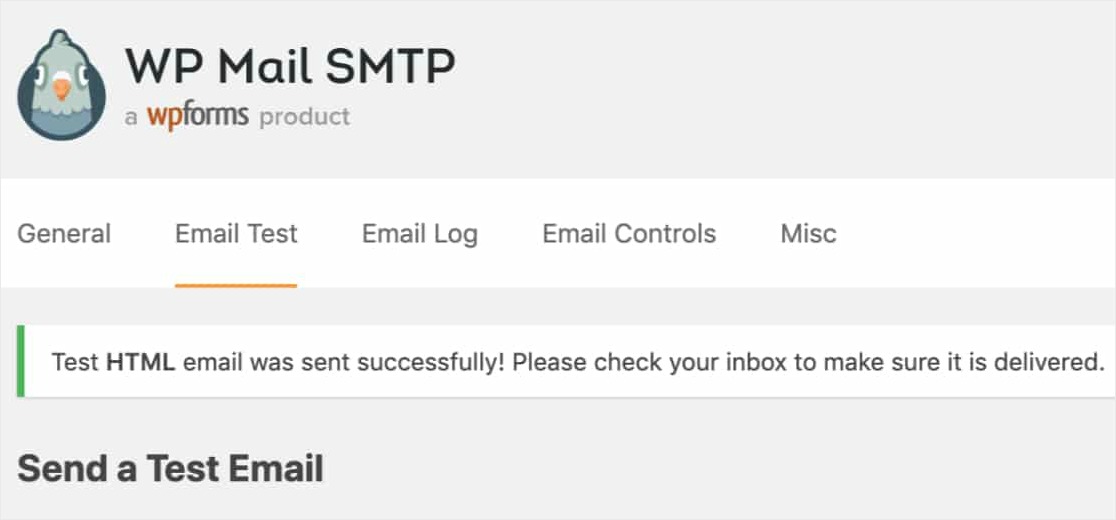
If you've done everything right, it will display a successful message and you should also receive the email.
Congratulations! You did it.
If you are using the free version then that was it. There's nothing much you can do. (Still, please use Sendinblue mailer for better result.)
And if you are a pro user then let me tell you how you can make sure your email lands on inbox and not the spam box most of the times.
How To Make Sure That Your Emails Will Land On Inbox, Not The Spam Box?
To do this, you need a pro version of the WP Mail SMTP plugin and any reputed third-party mailing server.
I highly recommend you to use Sendinblue or Amazon SES. But you can also use any other services like Gsuite.
Sendinblue is pretty easy to set up but in case you want Amazon SES then keep reading.
What Is Amazon SES?
As we already know, there a lot of ways you can send SMTP emails using WP Mail SMTP plugin on your website. But most of them have a limitation on how many emails can be sent.
And because of that, sometimes you might even not get the notification emails if your WordPress website is sending too many email in a short period of time.
Amazon SES is the tool or service, that will help you to avoid these issues.
It ensures high email deliverability and is more reliable then any other hosting or email servers.
Apart from that, Amazon SES also provides some email marketing tools as well. Which can be very helpful for your business.
Setting Up WordPress SMTP Using Amazon SES
Please remember that, in order to use Amazon SES on your website, you must have an valid SSL certificate enabled.
I would also recommend you to use a branded email id with your own domain name such as [email protected] for the From Email field.
Now let me walk you step-by-step on setting it up on your website.
Step 1. Create a Free AWS Account
In case you already have an AWS account then you should move on to the next step and if you don’t, sign up for a free account with AWS here.

Please be aware of that, in the sign up process you'll be asked for your credit card details upfront even though you are signing up for free tier access.
Step 2. Select Your Region
Amazon will try to detect your region and may ask to confirm or you may have to select it manually depending upon availability.

Step 3. Create an IAM User
As your AWS account is ready, you need to create an IAM user to get the access key that you'll need later.
First, follow this link to open the AWA IAM Users page and sign in.
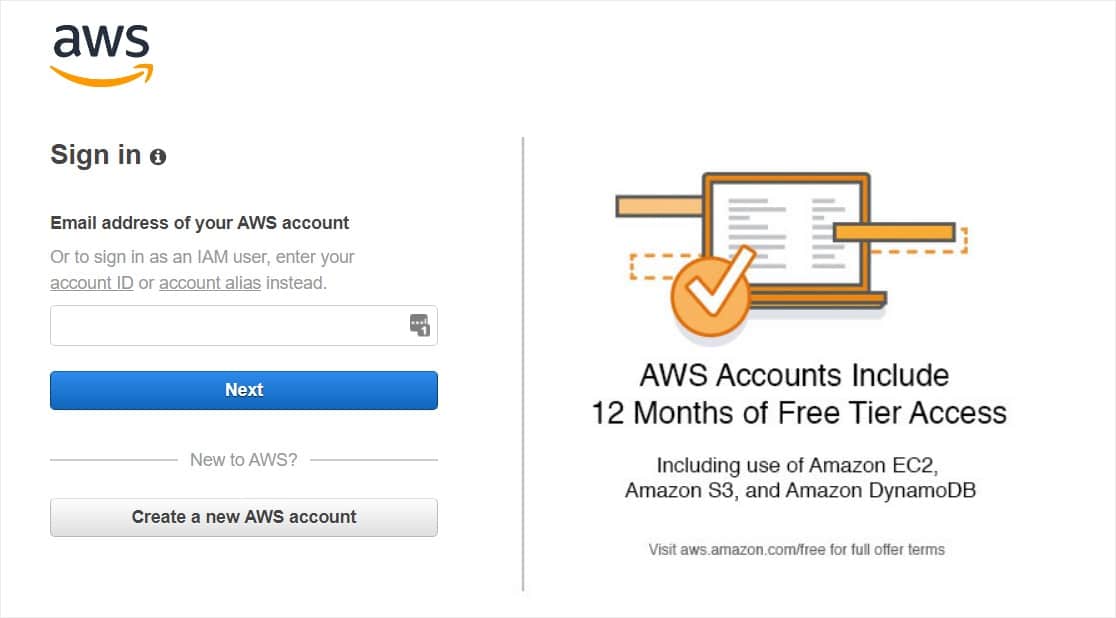
After you’re signed in to the dashboard, click the blue Add user button.
Now in the User name field, you can add any name that you would like to use. A better practice would be to use name format like domain_wpmailsmtp or something like that.
For example, if I'll create an user for this site then I will use bloggerself_wpmailsmtp.
I recommend doing this because you may add some more user in the future which can create confusion with generic names.
Now, next to the Access type check the Programmatic access box
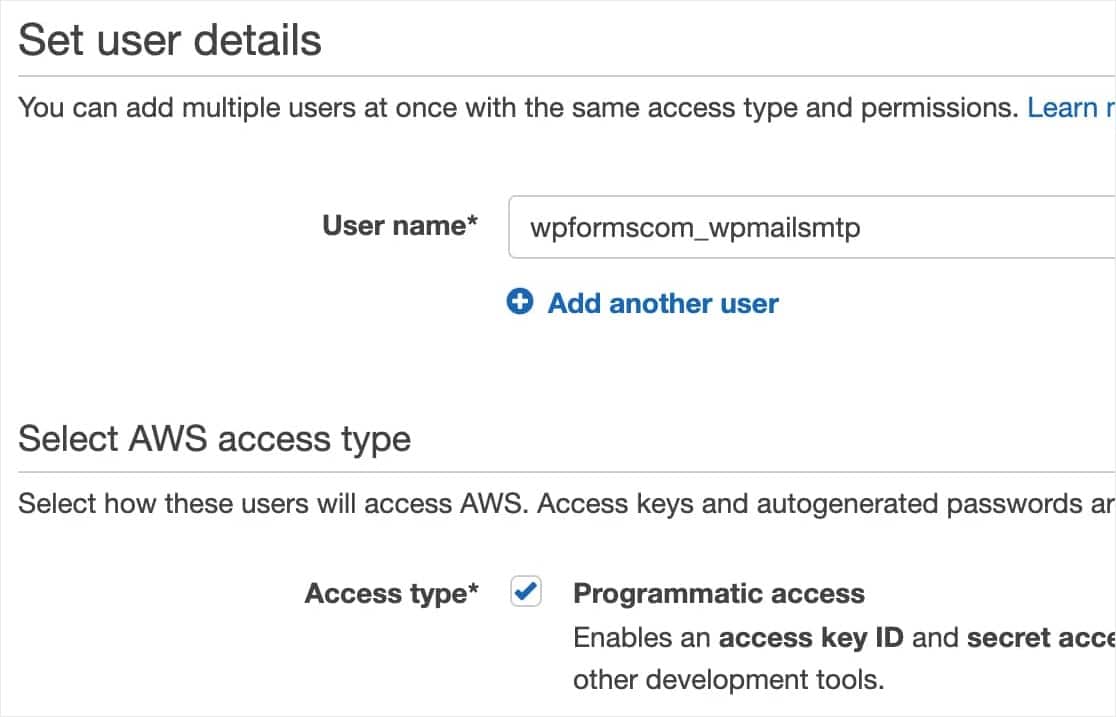
After that, click on the Next: Permissions button to proceed.
Step 4. Configure IAM User Setting Permissions
First, select Attach existing policies directly from the top row of boxes.
Then, type “AmazonSESFullAccess” (without the quotes) into the search bar. This should leave only one result, named “AmazonSESFullAccess”. Be sure to check the box next to this option to add this permission for the user.
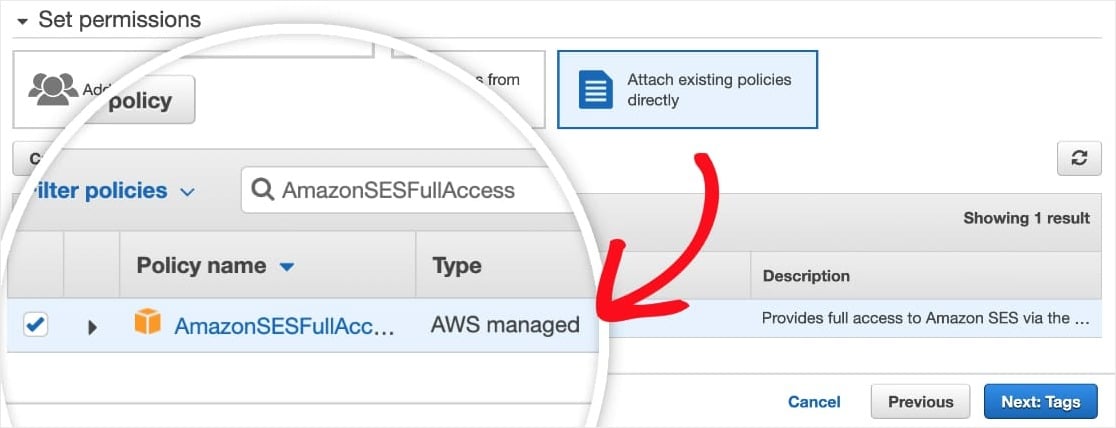
When you’re done on this page, click the Next: Tags button.
Skip the next page and click the Next: Review button.
Step 5. Review Your User Details
Now verify the user details you provided and click on Create user.

It should show a success message now. You’ll also see an Access Key ID and Secret Access Key for the user.
Note: You will not be able to see this Access Key ID and Secret Access Key again once you close this page, so be sure to keep or store them in a safe location.
You can also keep this tab/window open for now — we’ll be using these keys again later.
Step 6. Switch to AWS Production Mode
By default all Amazon SES account begins in a sandbox mode. This means that your account will only be allowed to send emails to only those email addresses that have been verified with Amazon SES.
Now let me show you how can move from sandbox mode to production mode.
First, you’ll need to click this link and create a request with Amazon Web Services.
In the top row of boxes, be sure that the Service limit increase box is selected.

Next, you’ll need to fill out the Case Classification form. This is an important step because it’s what Amazon uses to try and keep spammers from using their system.
This is one of the reason why your most of the email will land into inbox instead of spam box. In this process you'll be verifying yourself with Amazon that you'll use their service for genuine purposes and not spam.
I have listed all the details you will need for this form below:
- Limit Type: SES Sending Limits
- Mail Type: Transactional
- Website URL: Your site’s home URL
- My email-sending complies with the AWS Service Terms and AUP: Yes
- I only send to recipients who have specifically requested my mail: Yes
- I have a process to handle bounces and complaints: Yes
- Region: Choose the same region as when you set up your AWS account (whichever is closest to where your site’s server is located).
- Limit: Desired Daily Sending Quota
- New limit value: Estimate the maximum number of emails you expect your site to send per day.

After that, you’ll need to fill out the Use Case Description. In this field, share details about what kind of site you have and why you need to send out emails.
Be sure to include the type of emails that your site will be sending (for example, confirmations of form submissions, purchase receipts, promotional emails, etc).
Make sure to provide detailed and honest information. Otherwise Amazon may reject your request.

Once you are done filling all the details and stuff, click on submit.
In a few moment, you should receive 2 emails from Amazon Web Services. Both confirming that a new case has been created.
Usually, AWS will review your request and let you know the result within one business day. Meanwhile, you can continue with the forthcoming steps.
Step 6. Install the WP Mail SMTP Plugin
Download the plugin from it's website and upload it to your website as you do with any other plugins.
Make sure to activate it as well.
Step 7. Set Up WP Mail SMTP & Amazon SES
Now go to WP Mail SMTP form the side panel of your WordPress dashboard and the settings.
For the From Email field, you can use any valid email id but I highly recommend you to use a domain specific email id for better result.
You can also check the Force From Email checkbox to use this email site-wide as From Email.

Now fill up the from name which should probably be your brand name. And you can also use the checkbox to force the From Name site wide.

Next, scroll to the Mailer field and select the Amazon SES option.

It is the best practice to check the return path to math the From Email to receive replies and all. Make sure to check this checkbox.

On selecting Amazon SES as your mailer, you should see a new section appear titled Amazon SES. Here, you’ll need to enter or paste the access keys you created in your AWS account earlier.
Go ahead and copy-paste your Access Key ID and Secret Access Key in their respective field.
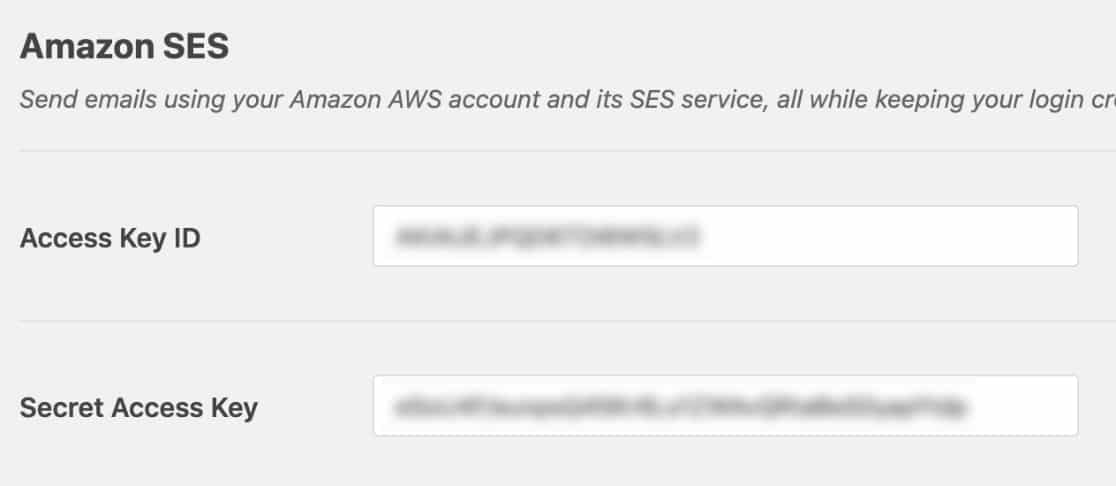
Once you’ve entered both of your keys, you can check the Region field.
A region will already be pre-selected for you based on your server's location, so make sure that this is correct and matches what you selected in your Amazon SES account.

Now as you have added all the details, click on save settings.
On saving the settings, an additional setting will appear: Verified Emails.
This is where you will add any emails that you might like to use as the From Email on your site.
To add a new verified From Email, click Add an Email Address.

Now, an overlay will appear where you can add one email address at a time.
Next, click the Send Verification Email button. After that you'll receive a verification email to verify that email address.
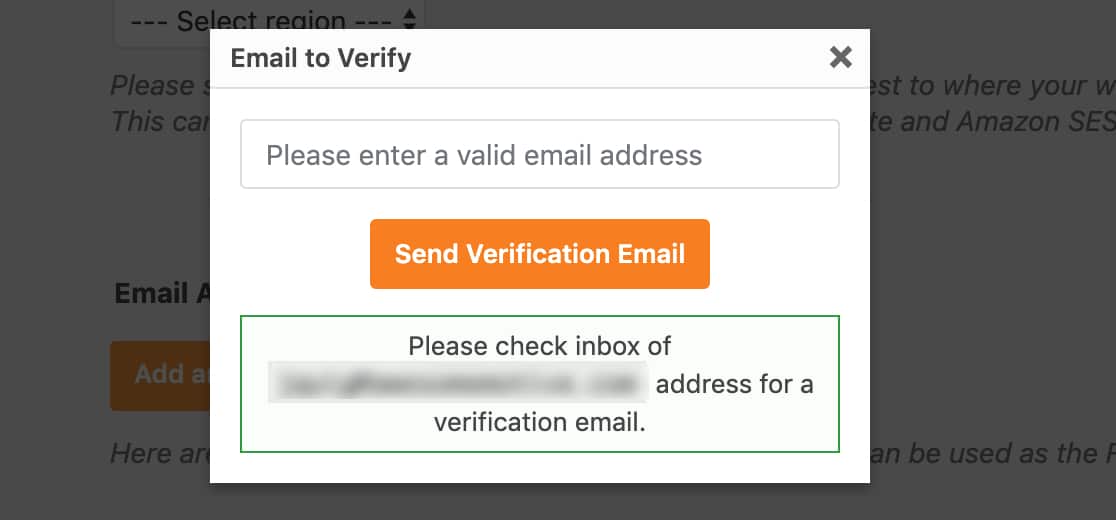
You’ll get an email from Amazon Web Services with a verification link. Click this link within 24 hours in order to verify this email address.

After you’ve successfully verified the email address, you can return to your site’s WP Mail SMTP settings and refresh the page. All verified emails will be displayed there.

Step 8. Send a Test Email
That was a lot of work and we're almost done and ready to launch. Just to make everything is working, let's send a test email.
Just go to the Email test tab on your WP Mail SMTP dashboard.
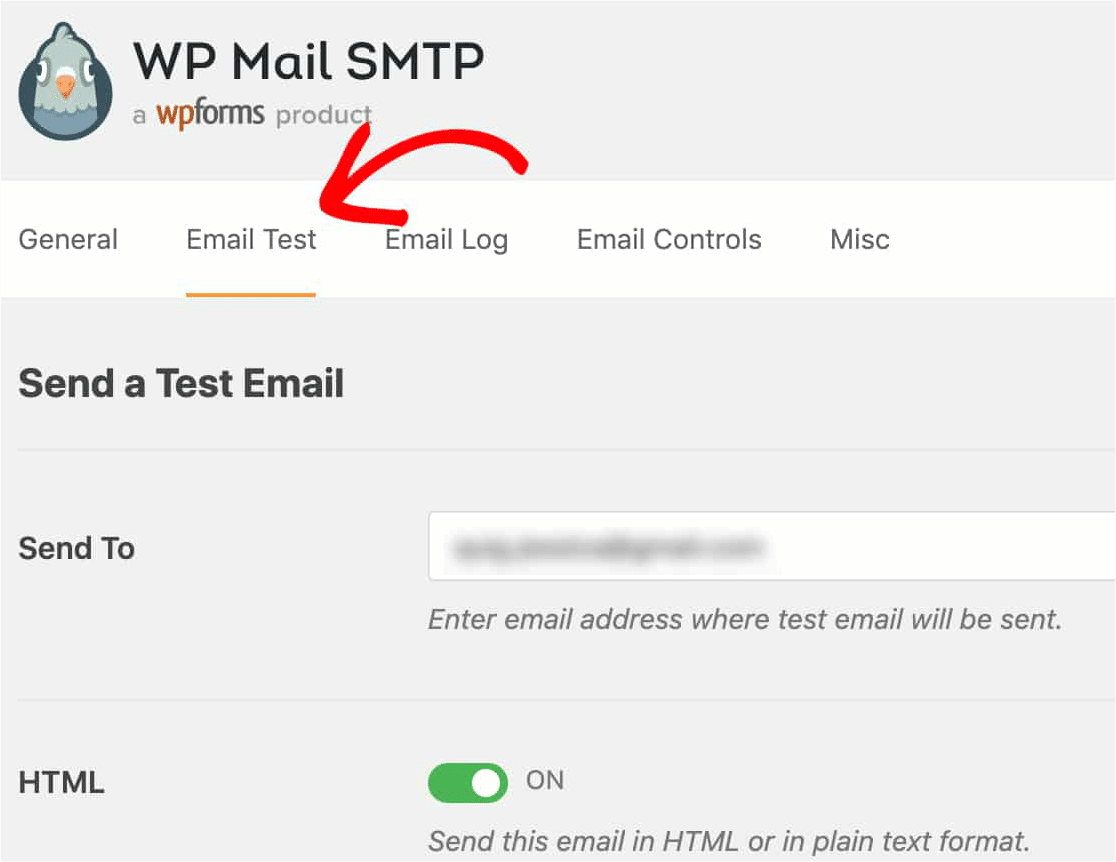
Now enter an email in the sent to field and turn on the the HTML option.
Now click on send and it should show a success message like the screenshot below.
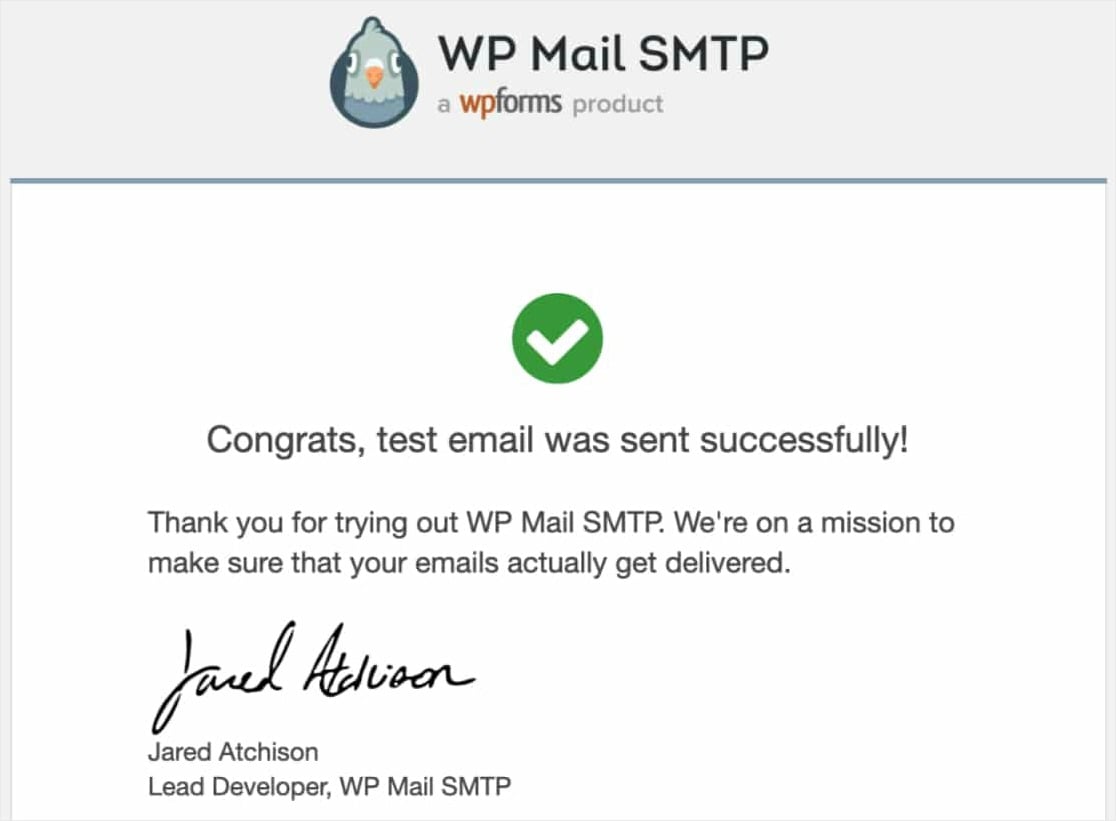
Now for the final step, go to your email and check that you have received an email from WP Mail SMTP like the following screenshot.
Did you get it?
Congratulations! It's done! Enjoy better emails.
Conclusion
That's it. If you just want to send emails from your hosting server but it is still not working then install WP Mail SMTP on your site and follow the steps I told you to solve your problem.
And in order to make your efforts resulting in the best possible way, get the WP Mail SMTP Pro and use it along with services like Sendinblue or Amazon SES.
Let me know if you still have any doubts or questions in the comments below. I'll be waitng!
Try it for FREE
It's free to download. Go ahead and test it yourself.


