Want to create MemberPress Online Course website? Now you can easily create it with the MemberPress Courses add-on.
Let’s talk about it in details now.
How MemberPress Can Be Helpful?
Many of us had wanted to create our own online course but some of us are not aware of coding knowledge in HTML, CSS, or other development languages.
MemberPress lets you create your own online course without any coding knowledge.
MemberPress tools care about the outlook and how your course is going to look from the outside so you can focus on your content.
There is a feature called “Classroom Mode” that lets you add modern styling for your content automatically so you don’t have to worry about it.
There are also some unique features that let you track how far you have completed a particular course.
It also lets the admin, which means the creator of that course, see the progress of a particular member.
In MemberPress, a new add-on lets you protect your course content with easy-to-use rules.
You can protect a single course or you can protect all of them by changing the “Access Condition”.
You can also promote your other courses with the help of the sales page and when someone encounters a page they don’t have access to, then they will get an option to subscribe to that particular page or that particular course.
Getting Started With MemberPress Online Course Website
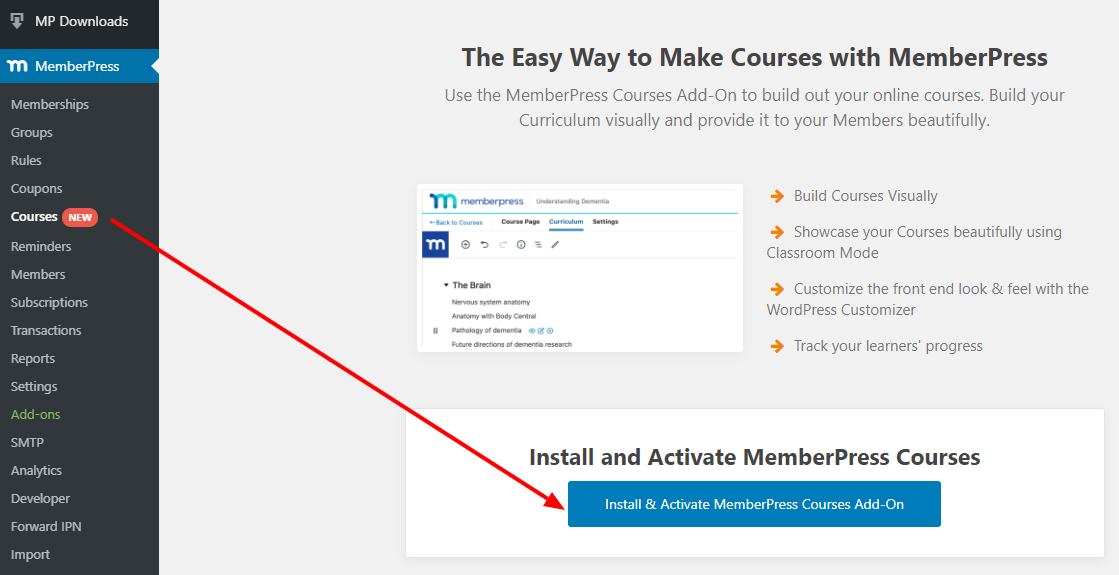
How To Install The MemberPress Add-on?
To Install the MemberPress Add-on, first, you have to install the MemberPress course add-on by visiting MemberPress » Courses page, and there you will see an option to download and install this add-on.
If the option to download this add-on is not showing, then you need to make sure that your member key is up to date.
How To Create Your First Course?
After installing the add-on you will get three options “Add New”, “Categories”, and “Tags”.
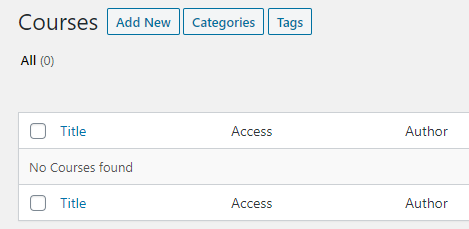
Just click on the option “Add New” to start creating your new course.
After that, you will be taken into the “Course Page”. On this page write the name of your course and add some context to it.
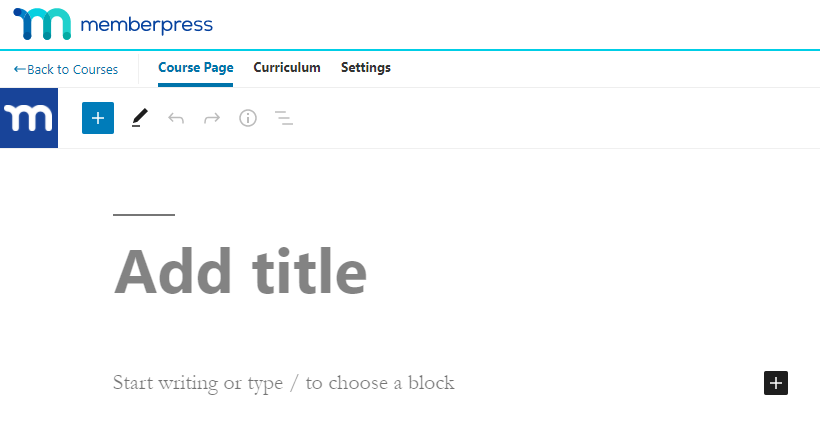
This will show up as an overview of your course, do not add your course curriculum here, we will do that later in the next section.
All About Curriculum
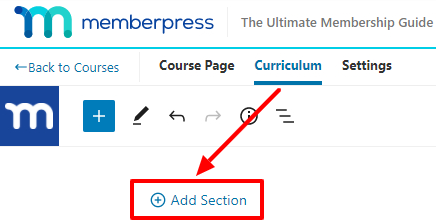
Once you have successfully created the title and the description for your course then you need to complete the course curriculum.
You will see the curriculum tab right beside the course page tab and create the curriculum as shown below.
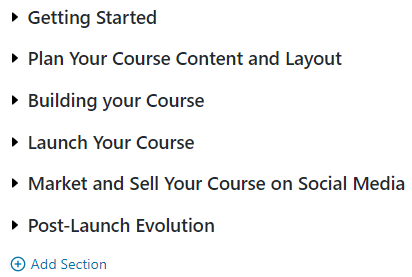
You can click on “Add Section” button to add sections or curriculum of your course.
Once you add your curriculums of the course you’re building, the layout will look like the example below.
Here’s An Example Layout For The Course Curriculum:
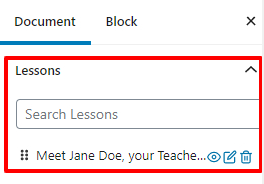
You can expand each of these sections and add lessons under each of these individual sections.
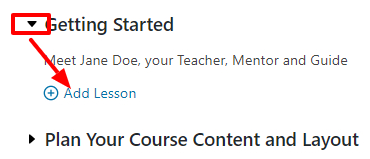
You can also search for an existing lesson and you can simply drag and drop it into your new course and it will move into your new course from the old one.
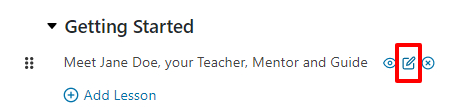
While editing your course, you can go back to your course by simply clicking on the link at the top of the lesson editor.
You can view a lesson by clicking on the “eye button”, edit it by clicking on “edit icon“, and also you can remove a lesson under a particular section by simply clicking on the “cross sign”. Or you can fully delete the lesson by clicking on the “trash icon”.
Settings That You Need To Know
The first thing in the setting, you will see an option called “Include in Course Listing”.
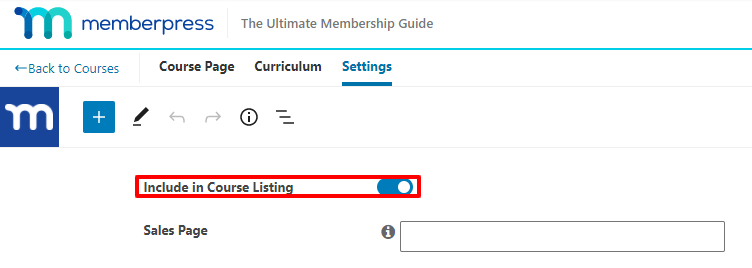
This page is the front-end page where all your courses will be displayed in a grid pattern.
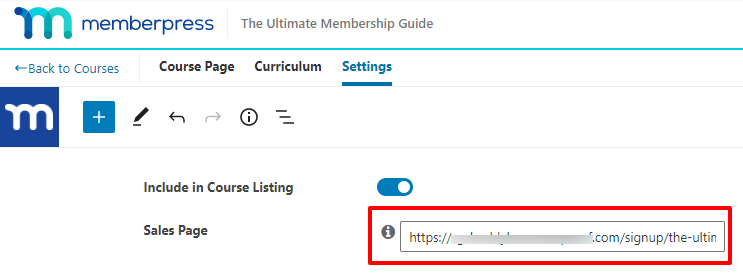
Below, you will see an empty box where you will have to put your “Sales Page” URL.
If you can’t seem to find your “sales page” URL, then you need to go to the membership section, and there you will find it.
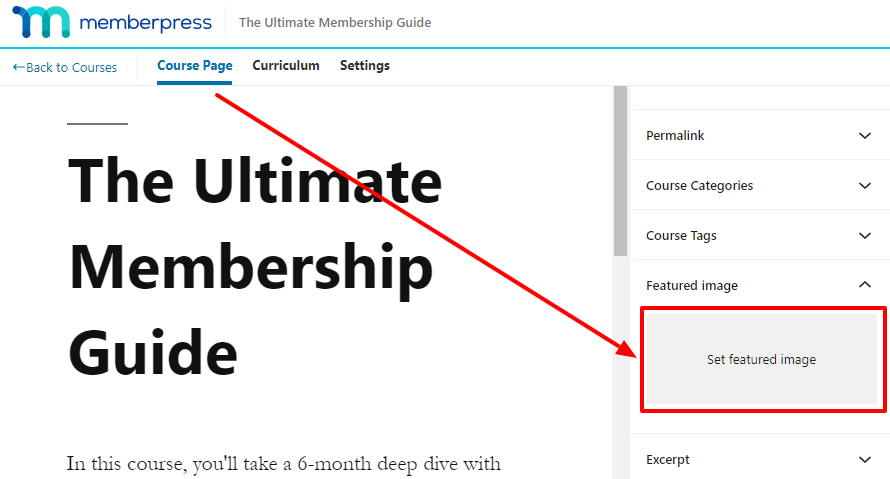
Adding A Featured Image For Your Course
You will need to add a thumbnail or image to your course to make it more professional.
You can do that by going into the “Couse Page” tab at the right and there you will see an option called “Set Featured Image”.
Click on this option and select an image from your computer and you will be good to go.
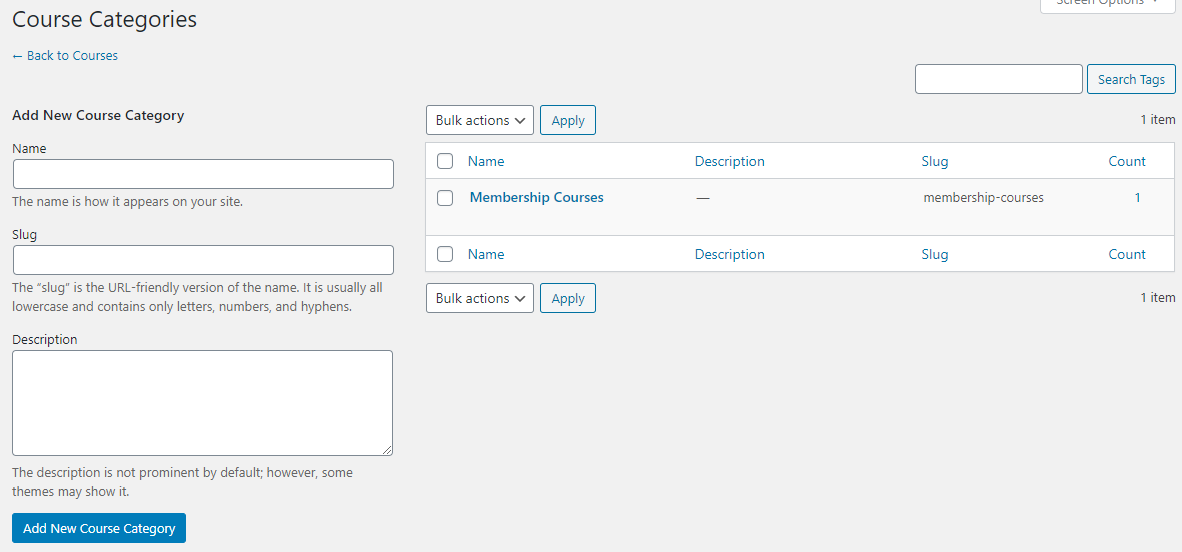
Tagging And Categorizing Your Courses
You can organize your courses by categorizing or by tagging them. They organize courses into categories or tags.
You will have to go to the MemberPress » Courses page and there you will see two option categories and tags.
After clicking on “Category” you can create or edit an existing category.
Protect Your Courses
You can protect your courses by changing the “Access Conditions”.
If you want to protect a single course, then go to MemberPress » Rules » Add New page and select “Single Course” type from the drop-down menu. Then search for the course that you are looking for and then select it.
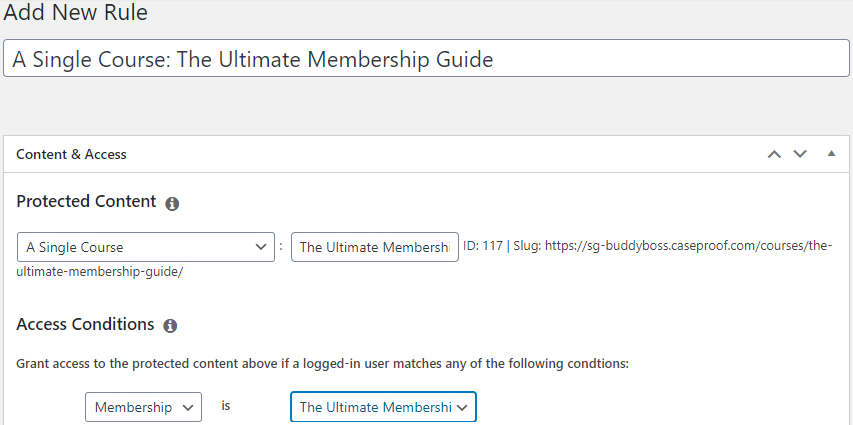
Then select the membership that will provide access to this course when purchased.
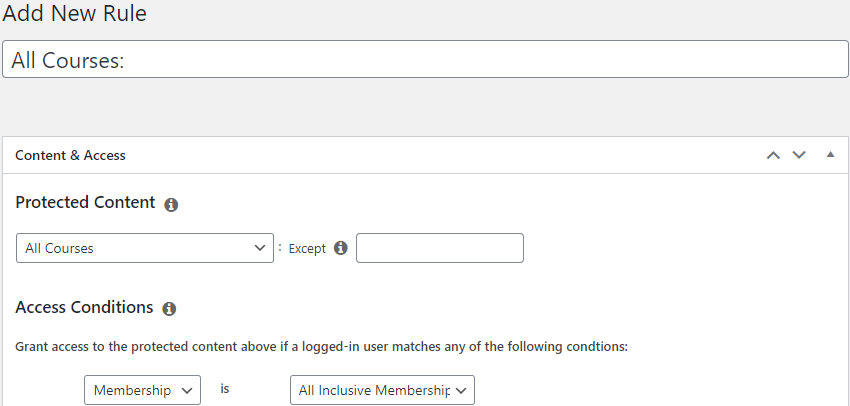
Or you can repeat the same process select all your courses and then select the membership that will grant permission to all your courses.
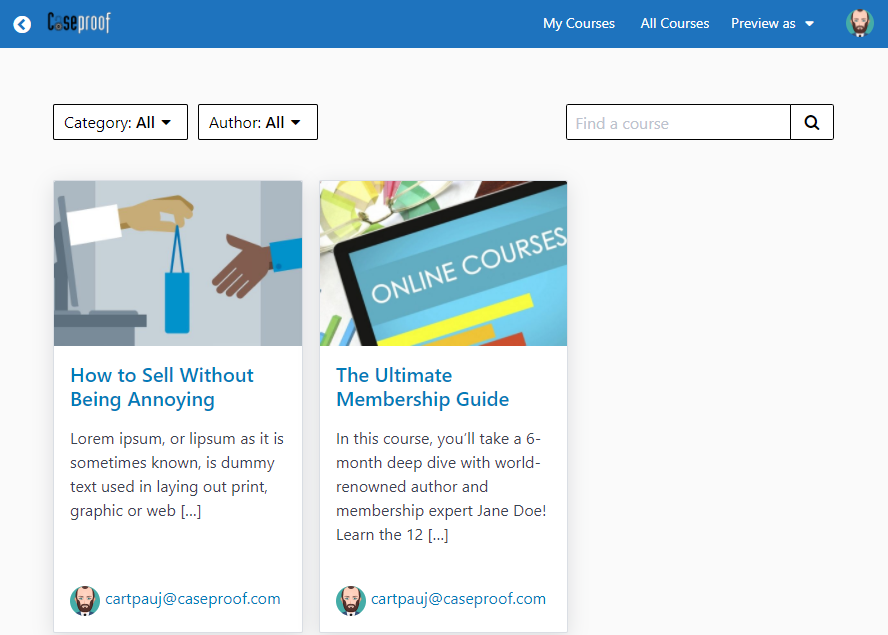
How Do Other People Find Your Courses?
Others will find your courses at “https://yoursite.com/courses/“. Here’s an example screenshot:
I am going to strongly recommend you to turn on the “Classroom Mode” this will make your courses look more professional.
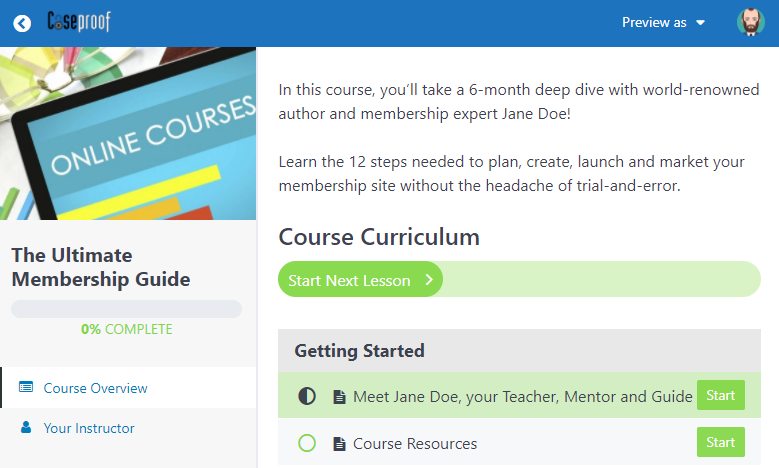
When a member is logged in, they can access the courses they have ownership of in the “My Course” section of the webpage.
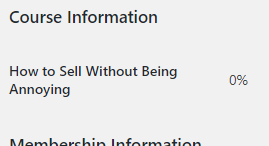
How To Check The Progress Of A Particular Member?
If you would like to check the progress of an individual member, then you should search for that member from the WordPress Dashboard » Users pages and then you have to click “Edit” on that particular user and then you will have to scroll down until you see the course information section.
Conclusion
I have discussed every single important detail about MemberPress Courses add-on to create and manage courses on a WordPress website from the very first to the last.
I hope this article will help you to start your own online teaching journey.
If you still have any questions regarding how to set up your own course or are having some kind of trouble, please do let us know and we will be more than happy to help.
Don’t Have MemberPress Yet? Get It Here Now!
Related Articles: