Are you planning to create a membership site on WordPress? Don’t know how do it and where to start??
In this article, you will find out exactly how to start a membership business on your WordPress website.
Keep reading!

Before we move on to that, those who have no clue what I'm talking about, let me explain to you what a membership website is!
A membership site lets you charge users a fee to gain access to restricted content. As a result, it will surely help you to boost up your website’s revenue.
Before moving to our steps, I'm assuming that you already have a hosting plan with a domain name and have also installed WordPress on it.
If not read one of the following blog posts to get started:
Once you have completed these steps and have a live WordPress website, you will be ready to create a membership site.
How To Create A Membership Site On WordPress?
To reduce the headaches and time, we will install a membership plugin. No need to code or hire developers because the solution is already available for us.
There are too many WordPress membership plugins in the market to choose from. However, I highly recommend using MemberPress for a lot of reasons.
With the help of MemberPress, you can create a membership website within a few minutes while dancing on your favorite music.
Well don't really try that 🙂
Moving on...
This plugin will help you create a membership sites by auto-generating accounts, login, registration, etc. pages, while adding a complete membership website capabilities on your WordPress website.
You can also use MemberPress to restrict access to a lot of content and make it exclusive for your members.
With MemberPress, any essential functionality can be implemented, including content dripping and affiliate marketing.
MemberPress also integrates perfectly with some of the world's most popular payment platforms, such as PayPal and Stripe.
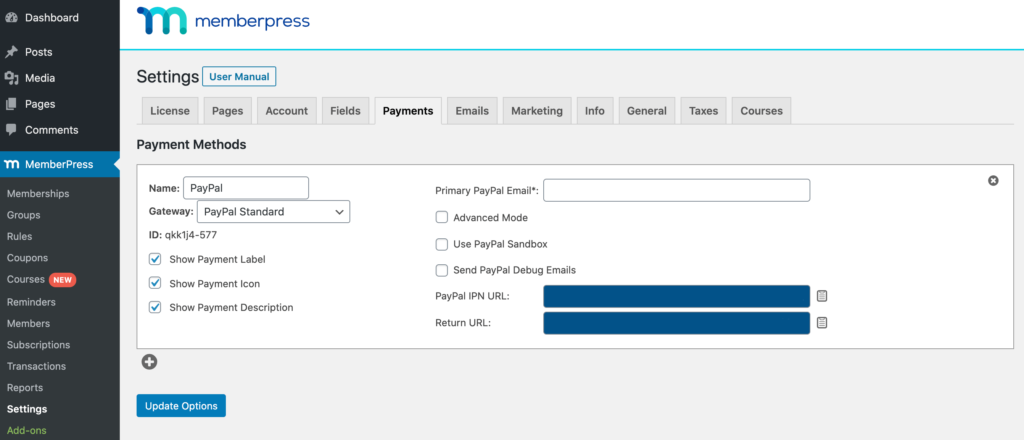
If you have activated MemberPress, you can configure it to your preference by going to the MemberPress → Settings page.
To monetize your membership site, you need to set up at least one payment gateway from the payment tab.
Configuration Of MemberPress Membership Levels
Once you have configured your MemberPress settings, your next step will be to create the membership levels for your visitors to purchase.
The levels generally comes under a variety of price range, different features/promise, and content.
The plus point is you can make an unlimited number of membership levels with MemberPress and customize it as per your liking.
To modify membership level, you must go to MemberPress and select Membership from the left side of the Dashboard menu, and then finally click on the Add New button.
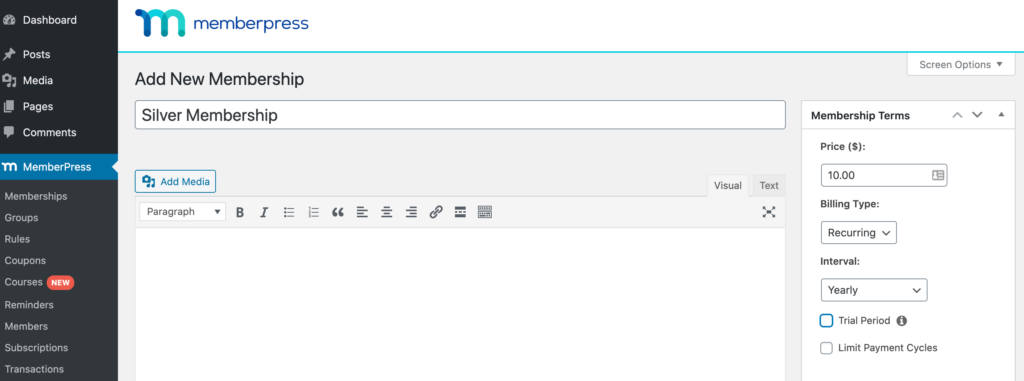
You will then need to enter a title followed by a description of your membership level, which you will find in the editor.
You also need to set the prices, billing types, and access time from the “terms and conditions” section on the right-hand side.
To complete the process, scroll down and choose the Membership option section and customize it according to your wishes.
Set Up Membership Access Rules
It is important to make sure that where and to whom you want to restrict access on your Membership sites. Hence, follow the steps to set up the rules.
Firstly, go to MemberPress and click on the “rules” button available on the left-hand panel. Then select the “Add New” option.
You can now create new rules and assign your content to the membership levels you previously collected.
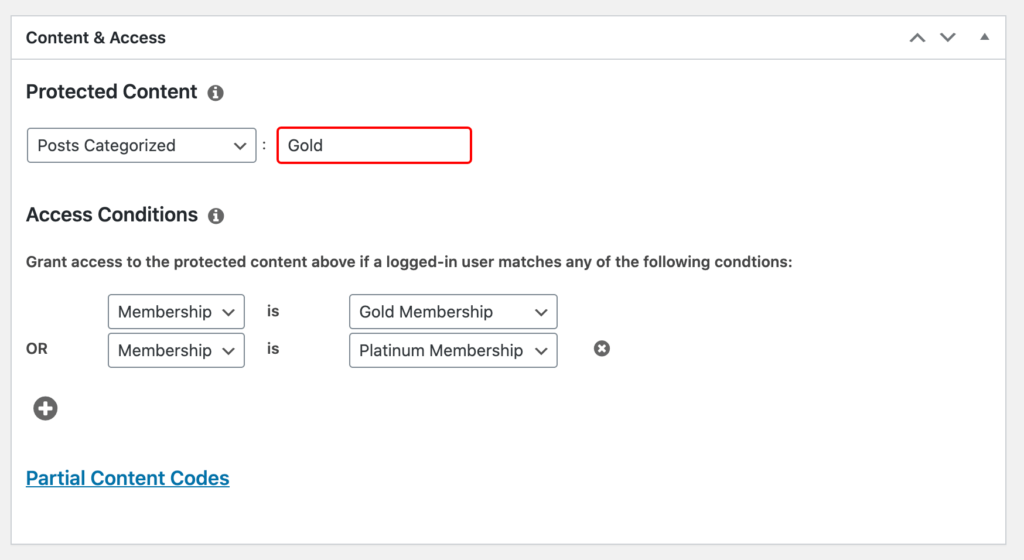
Moreover, you can group your content under a specific category that can only be accessed by users with the most expensive membership plans.
Start Creating Members-Only Content
You can also create "members-only" content so you can offer premium content after they join your membership site.
Write a post or a page to contribute your content. Kindly follow the steps below to create content to link.
First, you need to create a new post/page and add specific content according to your choice. Next, click on the “Advanced WordPress Guide” category.
Lastly, scroll down the “MemberPress Unauthorized Access” section, where you will be able to check what non-registered members will see when they try to access your members-only content.
When you're finished configuring your page according to your terms, you are ready to publish it. Posts can be viewed later to see what content is restricted.
It is also possible to create courses online with the help of the Courses add-on. You can easily create your course curriculum using the visual course builder.
Create A Pricing Page
Now you have to build a pricing page that will allow your site’s visitors to check your membership plans and sign-ups.
You can easily perform the above procedure with the help of MemberPress.
First, you need to go to the left-hand panel and select “MemberPress” and visit the “group” section. You should be able to see add new button now.
The group that has been created by you has to be named according to your requirement.
Here you need to add “Pricing Plans” so that the visitors know the function of this particular group.
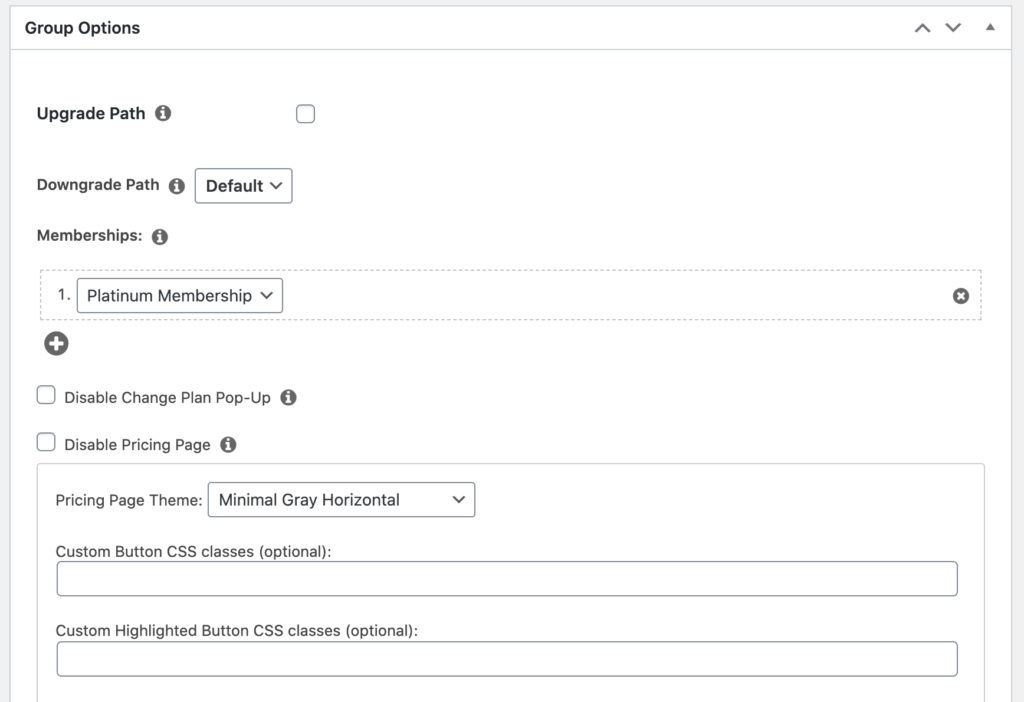
After this, you need to scroll down to the “Group options” section, where you can add the memberships and display them on the Pricing Page.
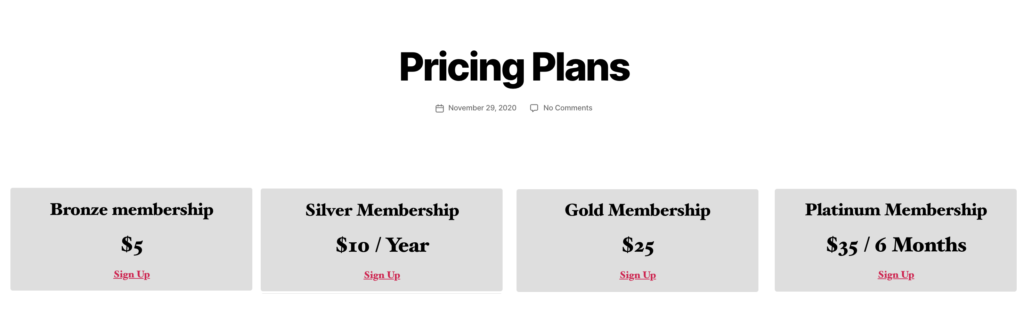
Finally, you can publish your page and preview it and check it in detail.
Conclusion
Membership subscriptions are the most popular way to generate revenue from your WordPress website nowadays.
Along with that. Online Courses or coaching is also booming right now after the Covid-19 pandemic hit.
So I don't see why anyone would not try to do it.
If you haven't already used MemberPress, then I highly recommend you to start using it today!
I'm glad that you took an action!
Now you know how to create a membership website on WordPress. And I hope it brings you more revenue and peace of mind. Good Luck!